AMD 7900XTX 双系统 AI 工作站安装清单
来源:抡锤者论坛 (lcz.me) 实测数据 + David Zhang、CHIA AN YANG、terry、ken huang 等用户经验
更新日期:2026-05-17
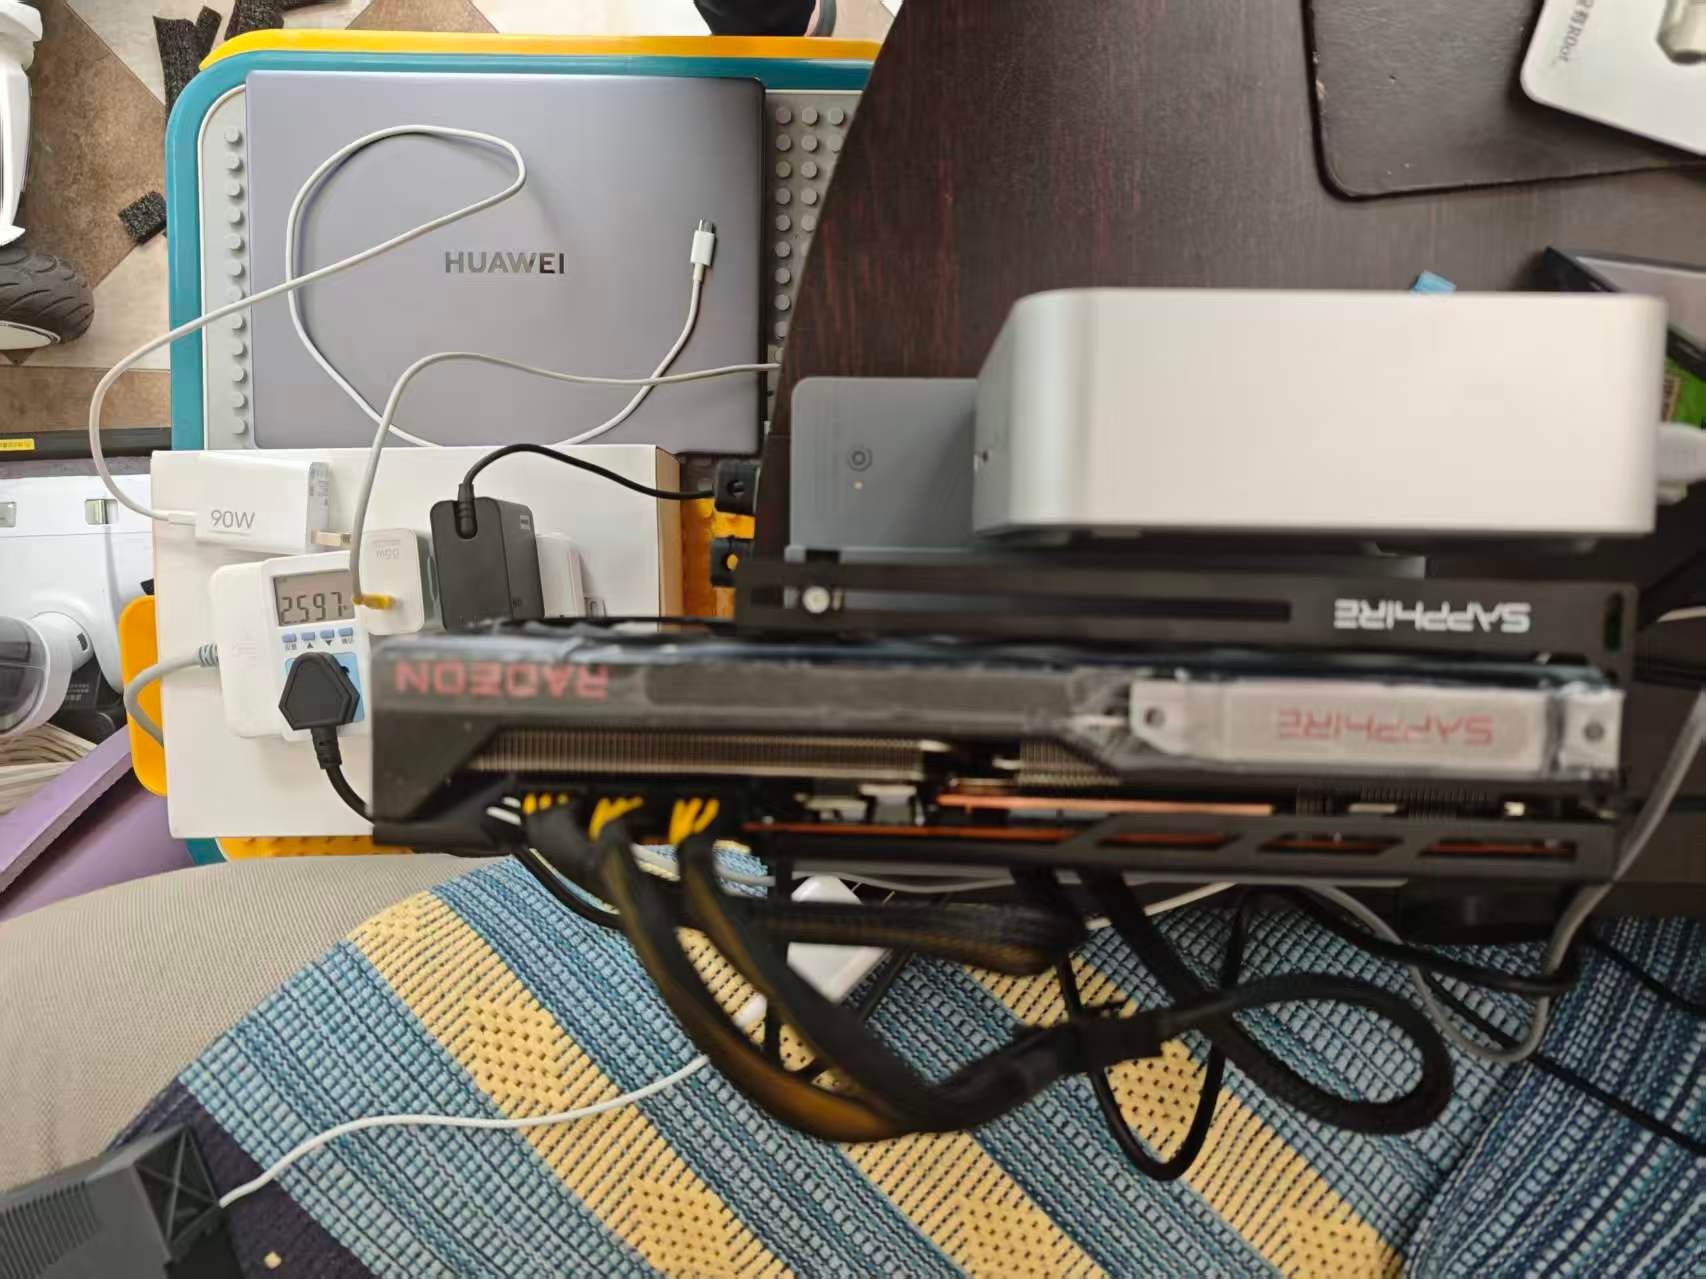
硬件:AMD RX 7900 XTX 24GB + AMD Ryzen 9 7950X / Intel i9-13900HK
目录
- 系统规划
- Part 1: Ubuntu 26.04 — 大模型 + ComfyUI
- Part 2: Windows Server 2025 — llama.cpp + ComfyUI
- 关键参数速查
- 踩坑与故障排除
- 性能基准参考
1. 系统规划
| 系统 |
用途 |
磁盘建议 |
| Ubuntu 26.04 |
ROCm 大模型 + ComfyUI FLUX/LTX |
NVMe SSD 500GB+ |
| Windows Server 2025 |
llama.cpp Vulkan + ComfyUI DirectML/ROCm-Windows |
NVMe SSD 500GB+ |
| 共享 |
模型文件、数据集 |
独立数据盘 2TB+ |
双系统切换:重启切换。模型文件放在共享数据盘,两边都挂载。
2. Part 1: Ubuntu 26.04 — 大模型 + ComfyUI
2.1 系统安装
# 1. 安装 Ubuntu 26.04 Desktop/Server
# 2. 更新系统
sudo apt update && sudo apt upgrade -y

# 3. 安装必要工具
sudo apt install -y git curl wget build-essential cmake python3-pip python3-venv
2.2 安装 AMD ROCm 驱动
# 1. 添加 AMD 仓库
wget https://repo.radeon.com/amdgpu-install/rocm/6.2/ubuntu/amdgpu-install_6.2.60200-1_all.deb
sudo dpkg -i amdgpu-install_6.2.60200-1_all.deb
sudo apt update

# 2. 安装 ROCm
sudo amdgpu-install --usecase=rocm --open

# 3. 重启并验证
reboot
rocminfo | grep "Name"
# 应看到: Name:             gfx1100 (AMD Radeon RX 7900 XTX)
2.3 安装 PyTorch ROCm
# 创建虚拟环境
python3 -m venv ~/ai-env
source ~/ai-env/bin/activate

# 安装 PyTorch ROCm
pip install torch torchvision torchaudio --index-url https://download.pytorch.org/whl/rocm6.2

# 验证
python -c "import torch; print(torch.cuda.is_available()); print(torch.cuda.get_device_name(0))"
# 应输出: True 和 AMD Radeon RX 7900 XTX
2.4 安装 ComfyUI
git clone https://github.com/comfyanonymous/ComfyUI.git ~/ComfyUI
cd ~/ComfyUI
source ~/ai-env/bin/activate
pip install -r requirements.txt

# 安装 ComfyUI Manager
cd custom_nodes
git clone https://github.com/comfyanonymous/ComfyUI-Manager.git

# 启动
cd ~/ComfyUI
python main.py --listen --port 8188
# 浏览器访问: http://localhost:8188
2.5 下载 ComfyUI 模型
mkdir -p ~/ComfyUI/models/checkpoints
mkdir -p ~/ComfyUI/models/unet
mkdir -p ~/ComfyUI/models/vae
mkdir -p ~/ComfyUI/models/clip
# FLUX.1-schnell (快速出图 ~12GB)
# 从 HuggingFace 下载: black-forest-labs/FLUX.1-schnell
# FLUX.1-dev (高质量 ~23GB)
# 从 HuggingFace 下载: black-forest-labs/FLUX.1-dev
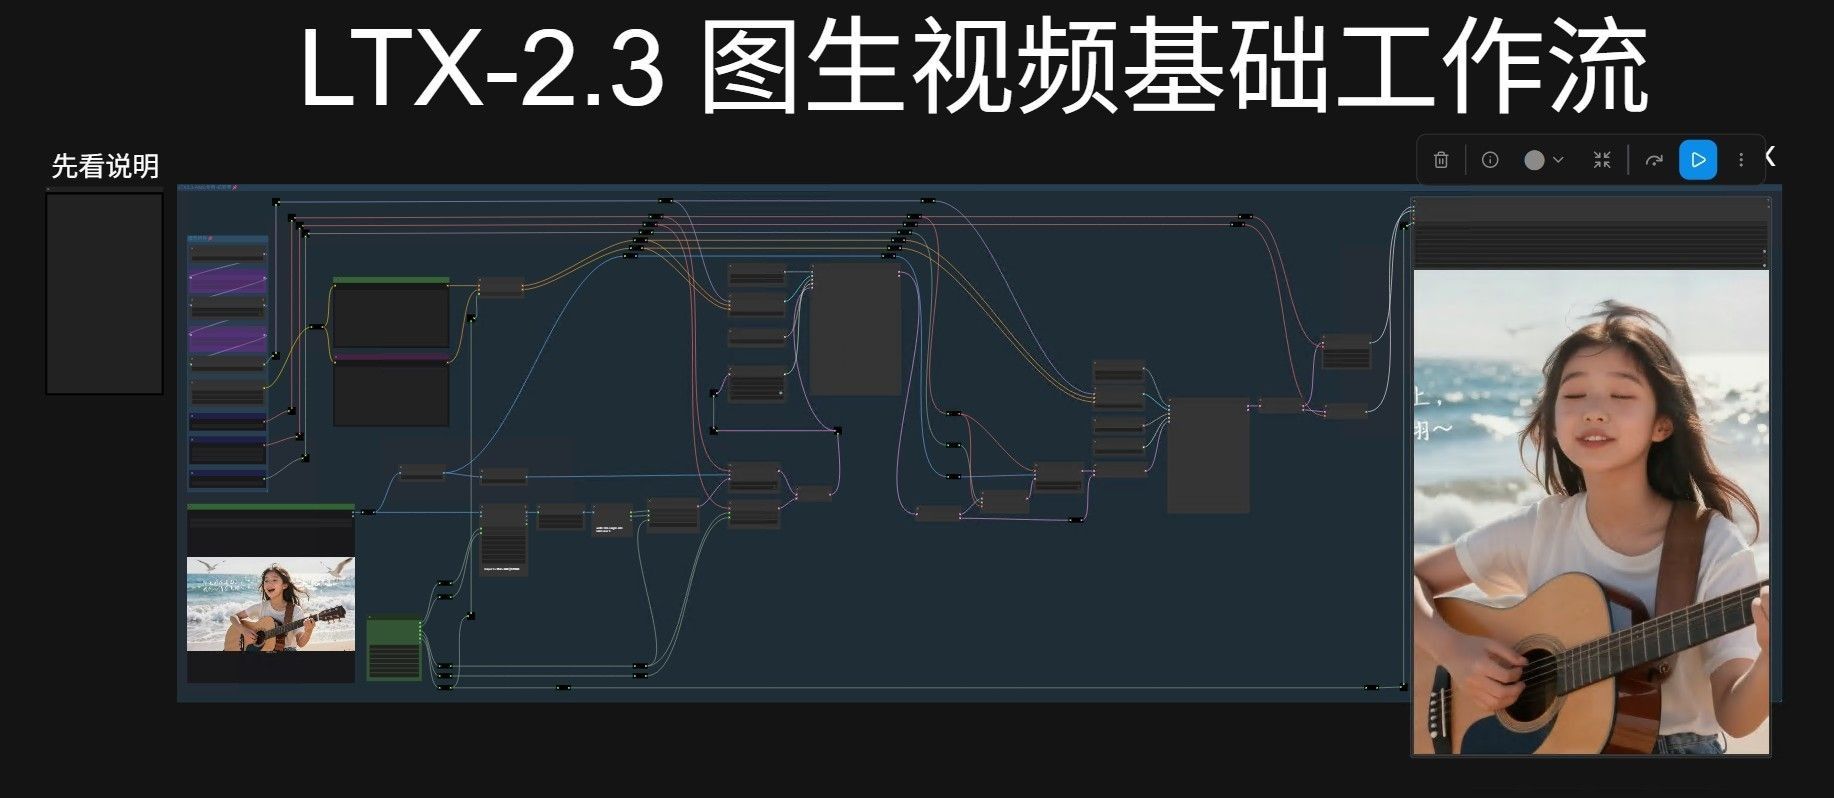
# LTX-Video 2B (视频生成 ~4.5GB)
# 从 HuggingFace 下载: Lightricks/LTX-Video
# LTX-Video 2B-distilled (快速视频 ~4.5GB)
# 从 HuggingFace 下载: Lightricks/LTX-Video-2B-Distilled
2.6 安装 llama.cpp (ROCm)
# 1. 安装依赖
sudo apt install -y clang lld

# 2. 克隆并编译 llama.cpp
git clone https://github.com/ggml-org/llama.cpp.git ~/llama.cpp
cd ~/llama.cpp

# 3. 编译 ROCm 版本
cmake -B build -DGGML_HIP=ON -DCMAKE_BUILD_TYPE=Release
cmake --build build --config Release -j$(nproc)

# 4. 验证
~/llama.cpp/build/bin/llama-cli -m ~/models/test.gguf -n 10 -ngl 999
2.7 安装 llama.cpp TurboQuant (ROCm)
# 1. 克隆 TurboQuant HIP 版本
git clone https://github.com/domvox/llama.cpp-turboquant-hip.git ~/llama.cpp-turboquant-hip
cd ~/llama.cpp-turboquant-hip

# 2. 编译
cmake -B build -DGGML_HIP=ON -DCMAKE_BUILD_TYPE=Release
cmake --build build --config Release -j$(nproc)

# 3. 启动服务器
~/llama.cpp-turboquant-hip/build/bin/llama-server \
  -m ~/models/Qwen3.6-27B-Q4_K_P.gguf \
  --host 0.0.0.0 --port 8080 \
  --n-gpu-layers 999 \
  --ctx-size 65536 \
  --batch-size 512 \
  --ubatch-size 128 \
  --threads 8 \
  --temp 1.0 --top-p 0.95 --top-k 20 \
  --cache-type-k turbo3 --cache-type-v turbo3
2.8 安装 llama.cpp MTP (ROCm)
# 1. 切换到 MTP PR 分支
cd ~/llama.cpp
git fetch origin pull/22673/head:mtp-branch
git checkout mtp-branch

# 2. 重新编译
cmake -B build-mtp -DGGML_HIP=ON -DCMAKE_BUILD_TYPE=Release
cmake --build build-mtp --config Release -j$(nproc)

# 3. 启动(注意:ROCm + MTP 有 VRAM 暴涨 bug,上下文限制 8k)
~/llama.cpp/build-mtp/bin/llama-server \
  -m ~/models/Qwen3.6-27B-Q4_K_M-mtp.gguf \
  --spec-type mtp --spec-draft-n-max 3 \
  --cache-type-k q4_0 --cache-type-v q4_0 \
  -np 1 -c 4096 \
  --temp 0.7 --top-k 20 -ngl 99 \
  --port 8080 --host 0.0.0.0 -fa 1 -ub 256
2.9 下载 Qwen3.6-27B 模型
# 非 MTP 模型 (17GB)
# HuggingFace: HauhauCS/Qwen3.6-27B-Uncensored-HauhauCS-Aggressive
# 下载: Qwen3.6-27B-Uncensored-HauhauCS-Aggressive-Q4_K_P.gguf

# MTP 模型 (15.8GB)
# HuggingFace: froggeric/Qwen3.6-27B-MTP-GGUF
# 下载: Qwen3.6-27B-Q4_K_M-mtp.gguf

# 多模态投影文件 (f16)
# HuggingFace: HauhauCS/Qwen3.6-27B-Uncensored-HauhauCS-Aggressive
# 下载: mmproj-Qwen3.6-27B-Uncensored-HauhauCS-Aggressive-f16.gguf
3. Part 2: Windows Server 2025 — llama.cpp + ComfyUI
3.1 系统安装
- 安装 Windows Server 2025
- 安装 AMD 显卡驱动:AMD Software: Adrenalin Edition 26.x(或 PRO 驱动)
- 安装 Visual Studio Build Tools:
winget install Microsoft.VisualStudio.2022.BuildTools- 必须勾选:"使用 C++ 的桌面开发"
3.2 安装 Vulkan SDK
# 1. 安装 Vulkan SDK
# https://vulkan.lunarg.com/sdk/home/windows

# 2. 设置环境变量
setx VULKAN_SDK "C:\VulkanSDK\1.4.350.0"
3.3 编译 llama.cpp Vulkan (MTP)
# 1. 安装 CMake
winget install Kitware.CMake

# 2. 克隆源码
git clone https://github.com/ggml-org/llama.cpp.git C:\llama.cpp
cd C:\llama.cpp

# 3. 切换到 MTP PR 分支
git fetch origin pull/22673/head:mtp-branch
git checkout mtp-branch

# 4. 编译 Vulkan 版本
cmake -B build -DGGML_VULKAN=ON -DCMAKE_BUILD_TYPE=Release
cmake --build build --config Release -j

# 编译输出: C:\llama.cpp\build\bin\Release\llama-server.exe
3.4 配置启动脚本
run-mtp.bat (测试用)
@echo off
C:\llama.cpp\build\bin\Release\llama-server.exe ^
 -m C:\models\Qwen3.6-27B-Q4_K_M-mtp.gguf ^
 --device Vulkan0 -ngl 999 -c 65536 ^
 -ctk q4_0 -ctv q4_0 -np 1 ^
 --spec-type draft-mtp --spec-draft-n-max 3 ^
 --reasoning off -fa 1 ^
 --port 8080 --host 0.0.0.0
pause
start-all-mtp.bat (生产用:llama-server + Hermes + 暖机)
@echo off
set "H_EXE=C:\Users\%USERNAME%\AppData\Local\hermes\hermes-agent\venv\Scripts\hermes.exe"
set "L_EXE=C:\llama.cpp\build\bin\Release\llama-server.exe"
set "M_PATH=C:\models\Qwen3.6-27B-Q4_K_M-mtp.gguf"
set "H_HOME=C:\Users\%USERNAME%\AppData\Local\hermes"
set PATH=C:\llama.cpp\build\bin\Release;%PATH%

echo [STEP 1] Launching llama-server (MTP)...
start "llama-server-mtp" cmd /k "%L_EXE% -m %M_PATH% --device Vulkan0 -ngl 999 -c 64000 -ctk q4_0 -ctv q4_0 -np 1 --spec-type draft-mtp --spec-draft-n-max 3 -fa 1 --reasoning off --port 8080 --host 127.0.0.1"

timeout /t 8

echo [STEP 2] Launching Hermes Gateway...
start "hermes-gateway" cmd /k "set HERMES_HOME=%H_HOME%&& set HERMES_GIT_BASH_PATH=C:\Program Files\Git\bin\bash.exe&& %H_EXE% gateway run --replace"

timeout /t 5

echo [STEP 3] Running Warmup Script...
powershell -ExecutionPolicy Bypass -File "%H_HOME%\scripts\warmup.ps1"

echo.
echo =======================================================
echo   SYSTEM READY  [MTP Mode: draft-mtp, n-max 3]
echo =======================================================
pause
3.5 设置 GPU 性能模式
# 在 AMD 驱动设置中:
# 1. 打开 AMD Software
# 2. 显卡 → 调整 → GPU 性能模式 → 设置为"高效"或"高性能"
#
# 或在命令行:
# amdctl gpu set power_dpm=high
3.6 安装 ComfyUI for Windows
# 方案 A: DirectML (最简单)
git clone https://github.com/comfyanonymous/ComfyUI.git C:\ComfyUI
cd C:\ComfyUI
python -m venv venv
.\venv\Scripts\Activate.ps1
pip install -r requirements.txt
python main.py --listen --port 8188

# 方案 B: ROCm for Windows (性能更好)
# 1. 安装 ROCm for Windows: https://rocm.docs.amd.com/projects/install-on-windows/latest/
# 2. pip install torch --index-url https://download.pytorch.org/whl/rocm6.2
# 3. 同上启动 ComfyUI
3.7 下载模型
C:\models\
├── Qwen3.6-27B-Q4_K_M-mtp.gguf      # MTP 模型 15.8GB
├── Qwen3.6-27B-Q4_K_P.gguf           # 非 MTP 模型 17GB
├── mmproj-*.f16.gguf                 # 多模态投影
├── flux1-schnell.safetensors         # FLUX 快速出图
├── flux1-dev.safetensors             # FLUX 高质量出图
├── ltx-video-2b.safetensors          # LTX 视频生成
└── ltx-video-2b-distilled.safetensors # LTX 快速视频
4. 关键参数速查
4.1 llama.cpp 启动参数
| 参数 |
值 |
作用 |
--device Vulkan0 |
Vulkan0 |
使用 Vulkan 后端 |
-ngl 999 |
999 |
所有层卸载到 GPU |
-c 65536 |
65536 |
上下文 64k(24GB 安全值) |
-ctk q4_0 -ctv q4_0 |
q4_0 |
KV Cache q4_0 量化(最关键优化) |
--spec-type draft-mtp |
draft-mtp |
多令牌预测(新版 PR 参数名) |
--spec-draft-n-max 3 |
3 |
每次预测 3 个 token |
--reasoning off |
off |
必加!防止 Qwen3 thinking 卡死 |
-fa 1 |
1 |
Flash Attention 加速 |
-np 1 |
1 |
单并行(MTP 限制) |
--ubatch-size 128 |
128 |
微批次大小(OOM 时减小) |
4.2 模型选择
| 模型 |
大小 |
后端 |
推荐场景 |
| froggeric/Qwen3.6-27B-MTP Q4_K_M |
15.8GB |
Vulkan + MTP |
 结构化输出最佳 结构化输出最佳 |
| HauhauCS/Qwen3.6-27B Q4_K_P |
17GB |
ROCm + TurboQuant |
最大上下文 (256k) |
| omnicoder-9B |
~6GB |
任意 |
快速编码任务 |
5. 踩坑与故障排除
5.1 常见问题
| 问题 |
原因 |
解决方案 |
| 24GB 显存 OOM |
上下文太大 |
降到 -c 65536 |
| Qwen3 卡死 |
thinking 模式无限生成 |
加 --reasoning off |
| ROCm + MTP VRAM 暴涨 |
已知 bug |
上下文限制 8k 以内 |
| Vulkan TurboQuant 速度慢 |
GPU 利用率仅 30% |
不用 TurboQuant,用标准 Vulkan |
| MTP 参数报错 |
参数名已改 |
用 draft-mtp 不是 mtp |
| Vulkan SDK 找不到 |
环境变量未设置 |
set VULKAN_SDK=C:\VulkanSDK\1.4.350.0 |
llama-common.dll 被锁 |
server 占用中 |
先关 server 再重新编译 |
| LTX 视频 2-3 次后爆显存 |
碎片化问题 |
加 --low-vram 或重启 |
5.2 显存优化
# 如果显存不够,调整这些参数:
--ctx-size 65536      # 降到 64k
--batch-size 512      # 降到 512
--ubatch-size 128     # 降到 128
-np 1                 # MTP 只能单并发
5.3 性能调优
# ROCm 性能优化
export HSA_OVERRIDE_GFX_VERSION=11.0.0  # 如果驱动不支持

# Windows GPU 性能模式
# AMD Software → 显卡 → 调整 → GPU 性能模式 → 高性能
6. 性能基准参考
6.1 大模型性能 (Qwen3.6-27B on 7900XTX)
| 配置 |
Prefill |
TG 速度 |
后端 |
| ROCm f16 |
904 t/s |
29 t/s |
基线 |
| ROCm q4_0 |
898 t/s |
29 t/s |
几乎不变 |
| Vulkan f16 |
766 t/s |
37 t/s |
基线 |
| Vulkan q4_0 |
770 t/s |
37 t/s |
几乎不变 |
| Vulkan + MTP q4_0 |
730 t/s |
81 t/s |
+106% TG |
| Vulkan + MTP q8_0 |
730 t/s |
77 t/s |
+96% TG |
| ROCm + MTP q4_0 |
730 t/s |
54 t/s |
+82% TG |
6.2 ComfyUI 性能 (FLUX/LTX on 7900XTX)
| 模型 |
出图速度 |
视频生成速度 |
备注 |
| FLUX.1-schnell |
~3-5s/张 |
— |
快速 |
| FLUX.1-dev |
~8-12s/张 |
— |
高质量 |
| LTX-Video 2B |
— |
~15-20s/段 |
1280x720 |
| LTX-Video 2B-distilled |
— |
~8-12s/段 |
快速 |
terry 实测:7900XTX 可批量跑几十个 ComfyUI 任务
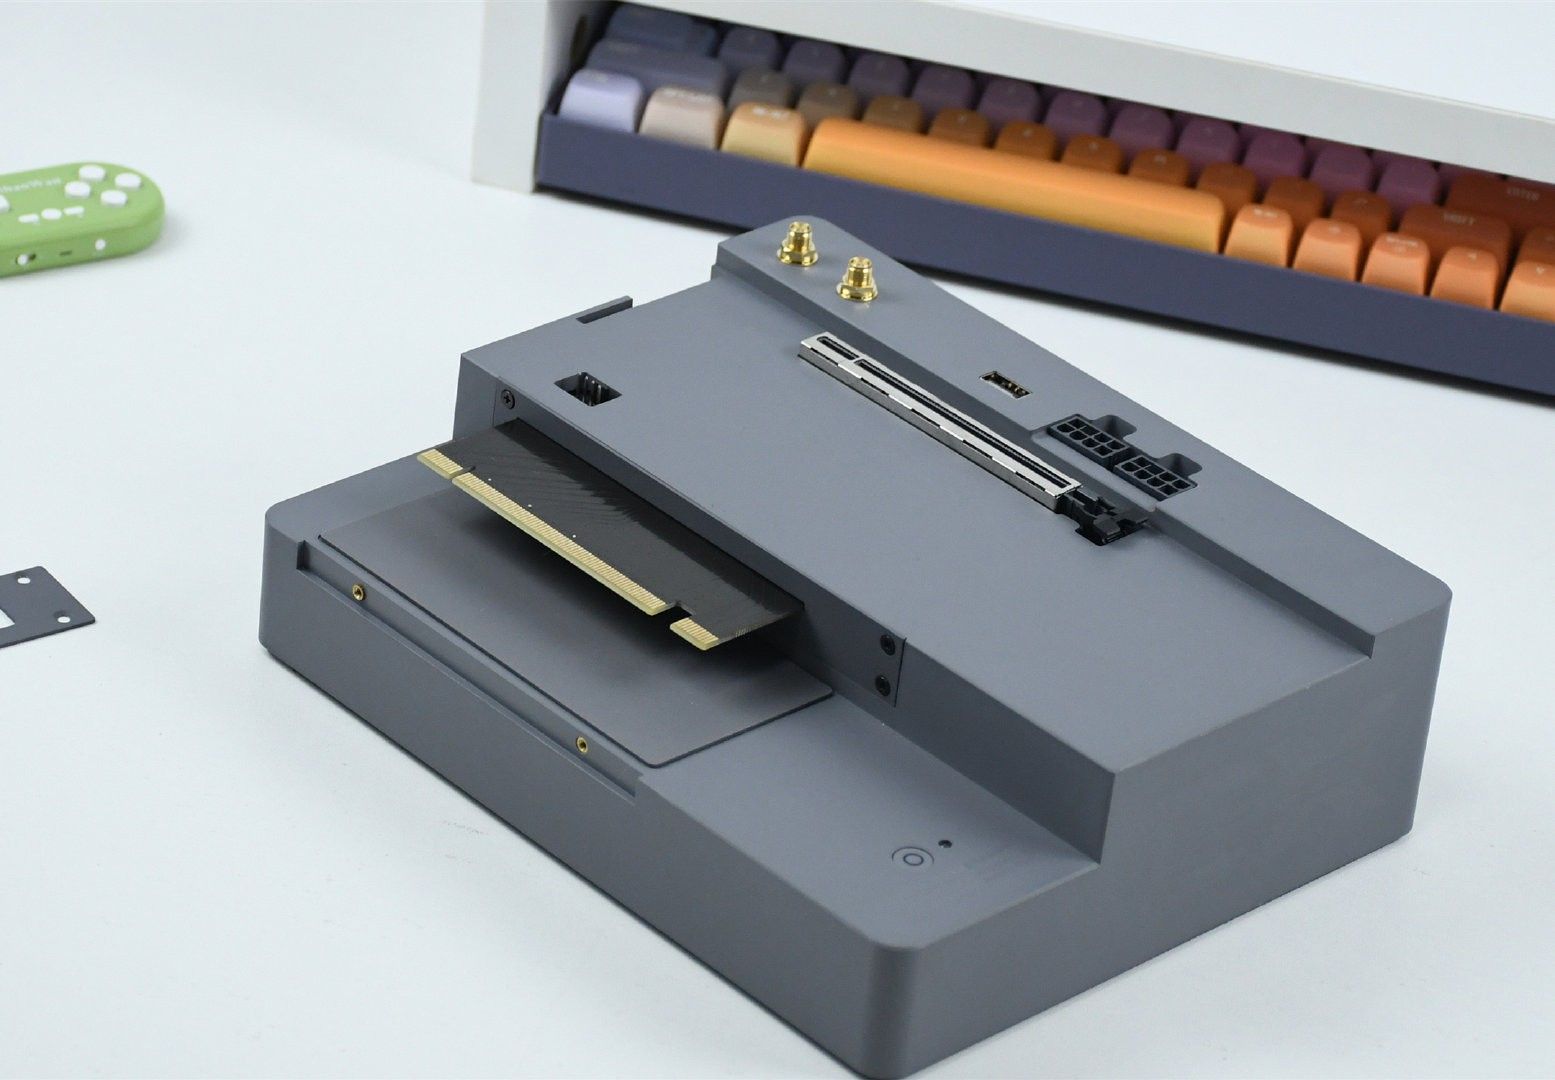
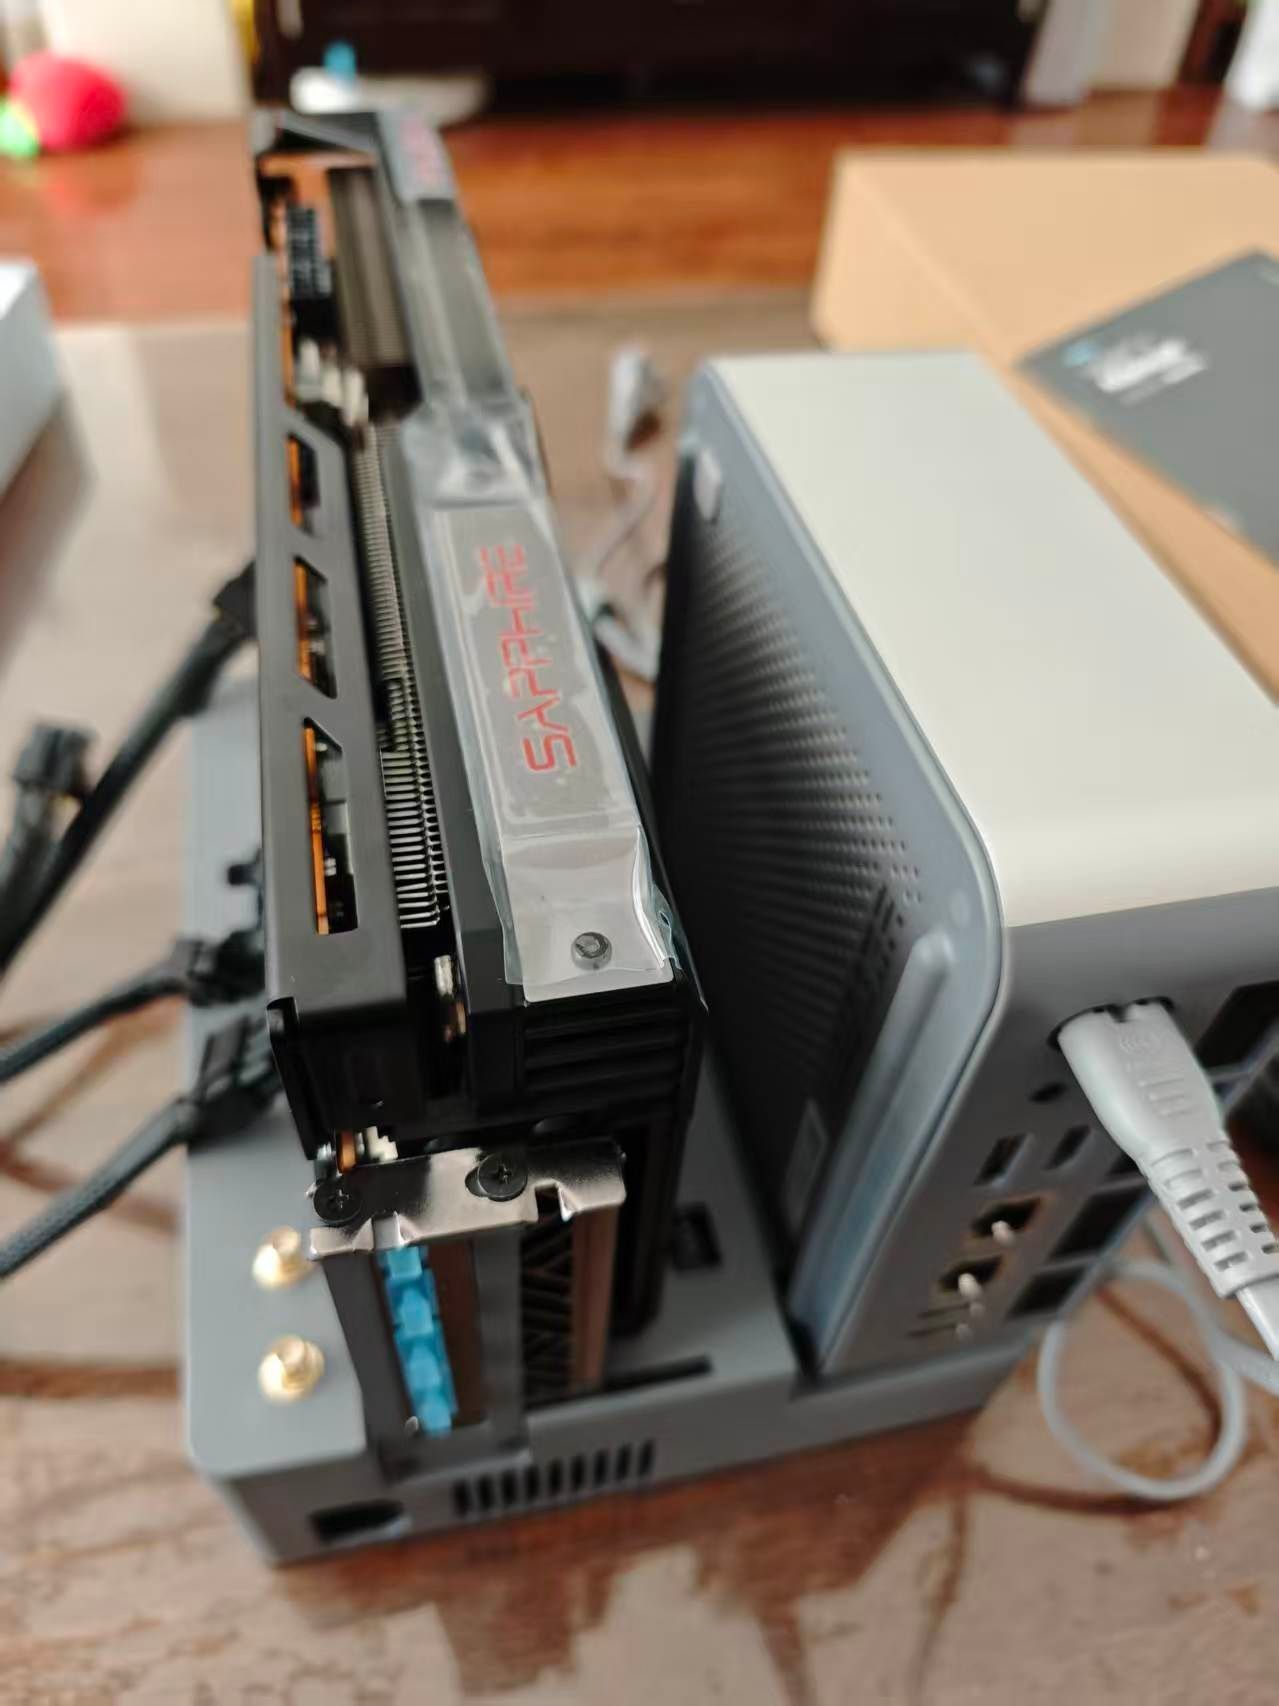
6.3 ken huang 的 eGPU 测试 (TB3 → PCIe 对比)
| 升级路径 |
预期 TG mean |
| 当前 (TB3 eGPU) |
37-45 t/s |
| OCuLink 改装 (~$80) |
52-55 t/s |
| 直接 PCIe 3.0 x16 |
58-62 t/s |
| AM5 + PCIe 4.0 x16 |
~67 t/s |
附录 A: 模型下载链接
附录 B: 关键 GitHub PR
附录  论坛来源
论坛来源